Integrating your Shopify store with an accounting system like Xero is one of the smartest steps you can take for your e-commerce business. But to get the most out of it, you need to do it right. That’s why we’ve put together this Shopify accounting integration checklist—so you can avoid common mistakes, keep your books clean, and save time on your financial admin.
Whether you’re a new Shopify seller or an experienced store owner, this Shopify accounting integration checklist will walk you through each step, from syncing your data to checking your reports. Let’s get started!
What Data Needs Syncing
The first step in your Shopify accounting integration checklist is deciding exactly what data you want to sync between Shopify and Xero. Syncing the right data will keep your financials accurate and up-to-date.
Key data to sync includes:
- Sales Orders and Refunds: Every sale and refund needs to be recorded in your accounting system. This ensures your revenue and returns are always accurate.
- Payouts and Fees: Make sure all your Shopify payouts and transaction fees flow into your books. This is essential for bank reconciliation and knowing your real profit.
- Customer Information: Sync customer names and contact info so your records are always current.
- Products and Inventory: Keeping product details and inventory levels synced means you can track what you’ve sold and what you still have in stock. This also helps with cost of goods sold (COGS) calculations.
- Taxes: Any tax collected (like VAT or sales tax) should be mapped correctly to your accounting system. This is crucial for compliance and reporting.
- Shipping and Additional Fees: Don’t forget to track shipping income and any other order-related fees, such as tips or gift wrap charges.
- Multiple Sales Channels: If you sell through other channels or multiple Shopify stores, make sure all this data gets included in your sync.
Syncing these data points is the core of a good Shopify accounting integration checklist. Missing any of them can lead to reporting gaps or headaches at tax time.
Accounting Settings to Double-Check
Before you connect Shopify to your accounting software, take time to review your accounting settings. This step in your Shopify accounting integration checklist prevents errors and keeps your books clean.
Checklist for settings:
- Chart of Accounts Mapping: Make sure every transaction type (sales, refunds, shipping, fees, etc.) is mapped to the correct account. For example, sales revenue goes to your sales account, and Shopify fees go to an expense account.
- Tax Settings: Match your Shopify tax rates with your accounting system’s tax codes. This ensures that the tax collected is recorded correctly, making compliance easy.
- Payment Gateways: If you use Shopify Payments, PayPal, or other gateways, map each one to the right bank or clearing account in your accounting system.
- Inventory and Products: Ensure all SKUs in Shopify match those in your accounting system. Decide if you’ll let your integration create new products, or if you’ll set these up in advance.
- Multi-Currency and Regional Tax: If you sell internationally or collect different taxes, double-check your multi-currency settings and regional tax codes.
- Sync Preferences: Decide if you want to sync every order or just daily summaries, and set your preferred start date for importing transactions.
By ticking off these settings in your Shopify accounting integration checklist, you’ll avoid messy errors and mismatches.
Data Clean-Up Before Connecting
A smooth integration starts with clean data. Before you turn on your integration, your Shopify accounting integration checklist should include a data clean-up.
Clean-up steps:
- Reconcile Past Sales: Bring your Shopify and bank records up to date, resolving any discrepancies.
- Remove Duplicates and Errors: Delete test orders, duplicate products, or customer records that could cause confusion.
- Standardize SKUs: Make sure all product SKUs are unique and formatted the same way in both Shopify and your accounting system.
- Back Up Your Data: Export your Shopify data (orders, products, customers) and key accounting reports, just in case you need to restore or check old records.
- Pick a Start Date: Choose the date when you want the integration to begin syncing transactions. Handle earlier transactions manually or make sure they’re already recorded.
Doing this prep work as part of your Shopify accounting integration checklist means you’ll start with a clean slate and minimize sync issues.
Must-Have Reports Post-Integration
Once your Shopify integration is live, your accounting system will become a powerful reporting tool. The final section of your Shopify accounting integration checklist is about making the most of these reports.
Essential reports to check:
- Profit and Loss Statement: Shows your total sales, expenses, and profit. With all Shopify data synced, this report gives you a true picture of your business performance.
- Balance Sheet: Displays assets, liabilities, and equity. After integration, verify that cash, inventory, and tax liability accounts are updating correctly.
- Cash Flow Statement: Helps you understand if your business is bringing in more cash than it’s spending.
- Sales Tax Liability Report: Tells you how much sales tax or VAT you’ve collected and need to remit.
- Accounts Receivable (A/R) Aging: If you invoice wholesale customers through Shopify, this report shows who owes you money and how long it’s overdue.
- Inventory and COGS Reports: These help you monitor stock levels and understand the true cost of what you’ve sold.
- Sales by Product or Channel: Analyze which items or sales channels are driving your revenue.
With your Shopify data flowing into accounting, you’ll save time, reduce manual errors, and gain insights to help grow your business.
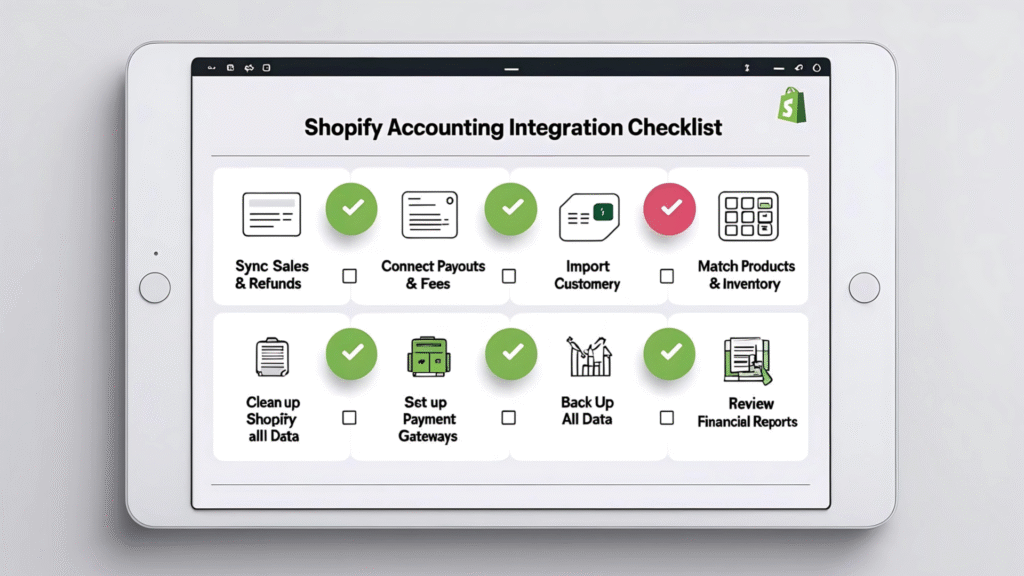
Sample Shopify Accounting Integration Checklist
Here’s a simple version you can copy or print for your next integration project:
| Step | Details | Benefit |
| Identify data to sync | Sales, refunds, payouts, fees, customers, inventory | Complete records |
| Map chart of accounts | Revenue, expenses, taxes, shipping, payment methods | Fewer errors |
| Check tax and currency settings | Match rates, codes, and currencies | Compliance |
| Clean up Shopify data | Reconcile sales, fix SKUs, remove duplicates | No sync issues |
| Set sync preferences and start date | Decide on order detail vs. summary, set a clear date | No duplicate entries |
| Back up all data | Export records from Shopify and accounting | Safety net |
| Run essential reports | P&L, balance sheet, tax, inventory, sales by product | Smarter decisions |
Conclusion
Setting up a Shopify accounting integration checklist is one of the best ways to stay organized and in control as an online seller. With a little planning—syncing the right data, double-checking your settings, cleaning up your records, and running regular reports—you can transform your bookkeeping from a headache into a helpful business tool.
Take the time to work through this checklist step by step, and you’ll save yourself hours of manual work, avoid costly mistakes, and always know where your business stands. And if something doesn’t look right after syncing, simply return to your Shopify accounting integration checklist to review each step and fix the issue.
Integrating Shopify with your accounting system isn’t just about saving time—it’s about getting the reliable, accurate numbers you need to run and grow your business with confidence. Make this checklist part of your process, and enjoy the peace of mind that comes with knowing your books are always up to date.