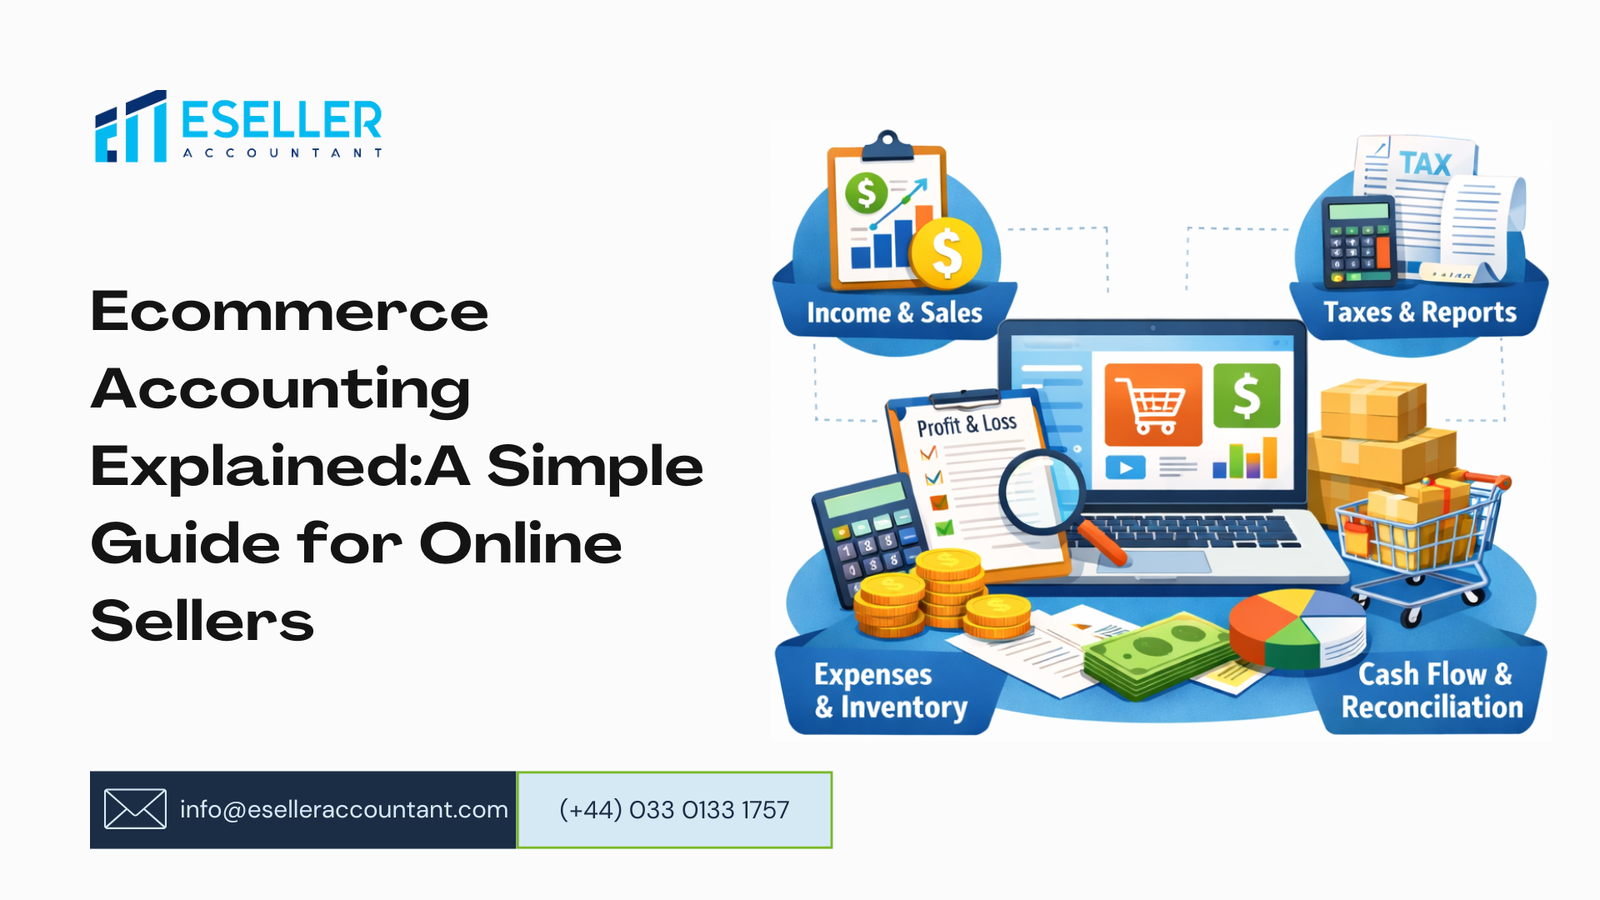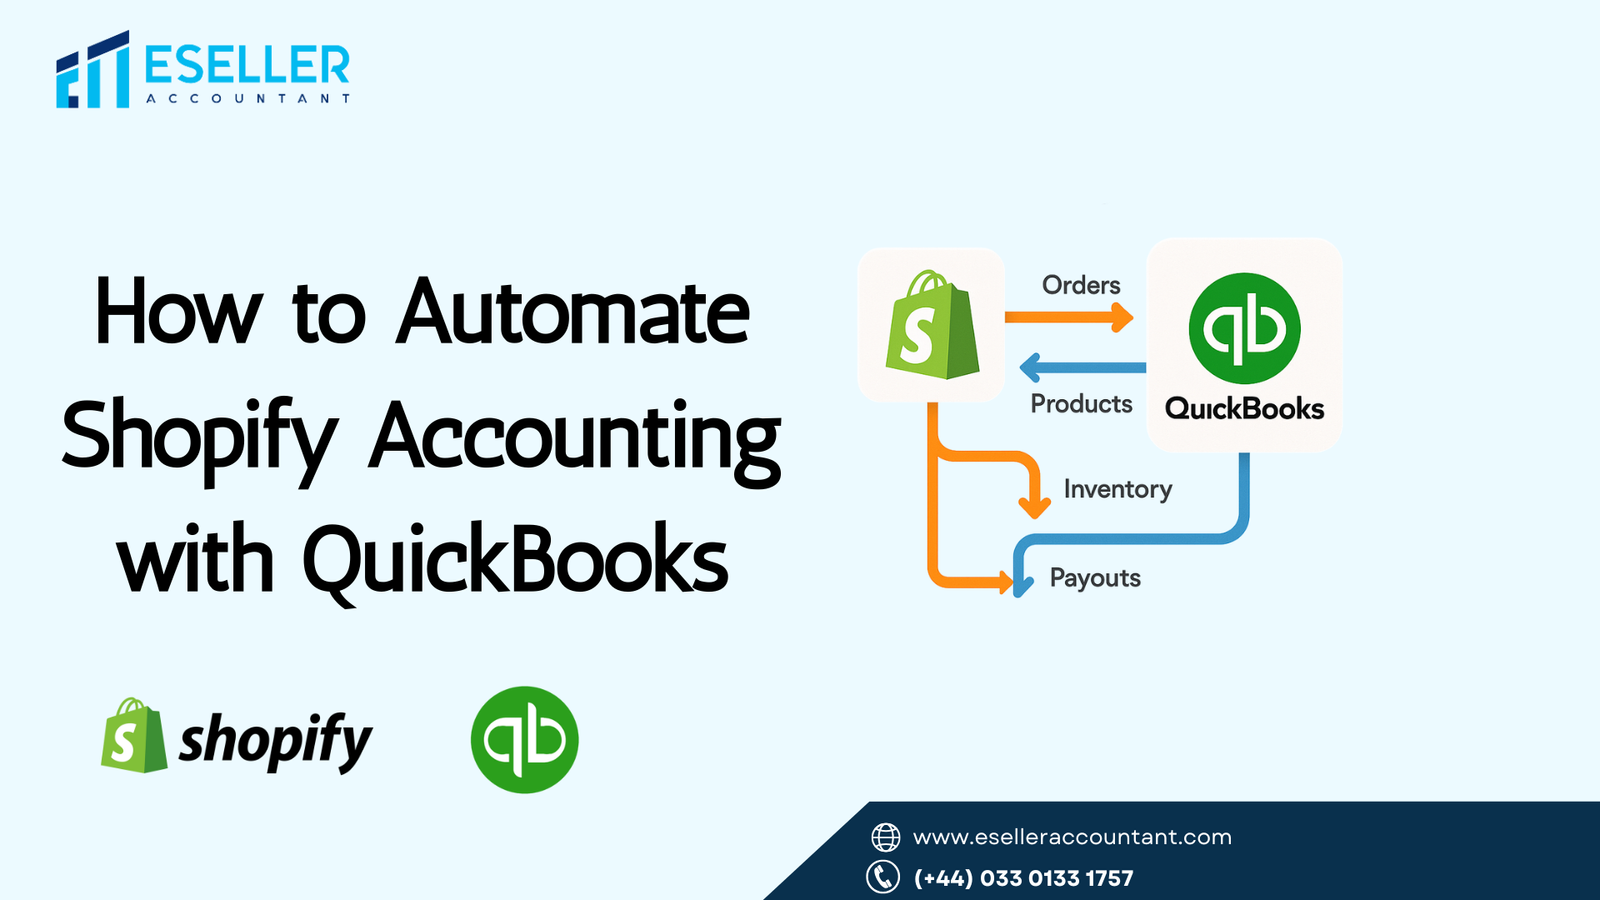
Did you know over 75% of e-commerce sellers make accounting mistakes that could cost them thousands in taxes? Learn how to automate Shopify accounting with QuickBooks to avoid these pitfalls. Running a Shopify store is exciting, but manual bookkeeping can make it very time-consuming and dull. Manually reconciling sales, tracking fees, and ensuring tax compliance can eat up hours that you could spend growing your e-commerce business. The solution? A seamless Shopify QuickBooks integration that automates your accounting process, saving time and reducing errors. In this blog, we’ll explore the struggles of Shopify bookkeeping, guide you through setting up QuickBooks for e-commerce, and explain why partnering with eSeller Accountant can make all the difference.
The Struggle of Manual Shopify Bookkeeping
Running a Shopify store is a thrilling journey, but bookkeeping often feels like a roadblock. Whether you’re a solo entrepreneur or managing a high-volume e-commerce business, manually tracking sales, refunds, fees, and taxes can drain your energy and time. For many Shopify sellers, this means spending hours each week—or even each day—sorting through transactions from multiple payment gateways like Shopify Payments, PayPal, Klarna, or Stripe. Each payout requires categorizing revenue, accounting for processing fees, and calculating taxes like VAT, GST, or sales tax, depending on your region.
Even a small error can lead to inaccurate e-commerce financial reports, which can skew your understanding of profitability or cash flow. Worse, mistakes in tax calculations can result in overpaying taxes—eating into your profits—or underpaying, which could lead to penalties. Studies suggest that a significant percentage of e-commerce sellers make accounting errors, often due to the complexity of managing multiple sales channels and tax jurisdictions. Beyond the time sink, manual Shopify bookkeeping pulls you away from high-impact tasks like product development, marketing, or customer engagement.
The solution lies in Shopify bookkeeping automation. By integrating Shopify with QuickBooks, you can eliminate repetitive tasks, reduce human error, and gain real-time visibility into your financial health. Automation ensures that every sale, refund, and fee is accurately recorded, giving you confidence in your books and freeing up hours to focus on scaling your brand. Let’s explore how to set up this game-changing integra
Step-by-Step: Setting Up Shopify QuickBooks Integration
Setting up a Shopify QuickBooks integration doesn’t require advanced accounting knowledge or hours of effort. With the right approach, you can automate Shopify accounting in under an hour, ensuring your books are accurate and compliant. Follow these detailed steps to get started:
Step 1: Create or Log In to Your QuickBooks Account
If you’re new to QuickBooks, sign up for QuickBooks Online, which is tailored for e-commerce businesses due to its cloud-based accessibility and robust reporting features. The QuickBooks Online Plus or Advanced plans are ideal for Shopify sellers, as they support integrations, inventory tracking, and detailed e-commerce financial reports. If you already have a QuickBooks account, log in and ensure your subscription supports third-party app integrations.
- Tip: Choose a plan that aligns with your business size. Smaller sellers may start with QuickBooks Online Simple Start, while larger stores benefit from Plus or Advanced for multi-channel support.
Step 2: Connect Your Shopify Store to QuickBooks
Navigate to the Shopify admin panel and visit the Shopify App Store. Search for the official QuickBooks Online app or a trusted third-party integration tool designed for Shopify QuickBooks integration. Install the app, which typically requires granting read-only access to your Shopify store’s sales data. This ensures your data remains secure while allowing QuickBooks to pull in transaction details.
- Security Note: Always verify that the app is an approved Shopify partner to protect your store’s data. The connection process usually takes just a few clicks, and you’ll be prompted to log in to your QuickBooks account to authorize the integration.
Step 3: Configure Accounts and Tax Settings
Once connected, map your Shopify transactions to the appropriate QuickBooks accounts. This involves assigning categories for sales revenue, refunds, payment processing fees, and tax liabilities. For example:
- Sales revenue might map to a “Sales” or “E-commerce Revenue” account.
- Fees from Shopify Payments or PayPal can go to a “Payment Processing Fees” expense account.
- Taxes (e.g., VAT, GST, or sales tax) should align with your region’s tax requirements.
QuickBooks provides default account mappings, but you can customize them to match your business structure. Set up tax rates based on your operating regions—QuickBooks supports VAT for the UK, GST for Australia, and sales tax for the US. If you sell in multiple jurisdictions (e.g., EU countries with different VAT rates), configure each tax rate carefully to ensure compliance.
- Pro Tip: Consult with an accountant during this step to ensure your chart of accounts and tax settings are optimized for your business model.
Step 4: Enable Automatic Syncing
Activate automatic data syncing to pull Shopify payout data into QuickBooks. Each payout generates a summary that includes sales, refunds, fees, and taxes, which QuickBooks organizes into clean, easy-to-read entries. You can schedule syncs to run daily, weekly, or per payout, depending on your volume. This automation ensures that your books stay up to date without manual input.
- Reconciliation Made Easy: QuickBooks matches these summaries to your bank deposits, making reconciliation a one-click task. This is especially useful for sellers using multiple payment gateways, as QuickBooks consolidates data from Shopify Payments, PayPal, Klarna, and more.
Step 5: Review and Refine
After your first sync, review the data in QuickBooks to ensure accuracy. Check that sales, fees, and taxes are correctly categorized and that your bank deposits align with QuickBooks entries. If discrepancies arise, adjust your mappings or consult QuickBooks’ support resources. Over time, this QuickBooks Shopify setup becomes a set-it-and-forget-it system, saving you an average of 6+ hours per month compared to manual bookkeeping.
This Shopify bookkeeping automation process supports all major payment gateways and sales channels, including Amazon, eBay, and Etsy, if you’re a multi-channel seller. It also adapts to tax law changes, ensuring your books remain compliant without constant manual updates.
Why Choose eSeller Accountant for Shopify-QuickBooks Integration?
While QuickBooks simplifies Shopify bookkeeping automation, partnering with a specialist like eSeller Accountant elevates your financial strategy. Their team of e-commerce accounting experts ensures your Shopify QuickBooks integration is optimized for accuracy and growth.
Unmatched Expertise
eSeller Accountant’s professionals specialize in Shopify accounting and QuickBooks integration. They understand the complexities of e-commerce, from handling multiple sales channels (Shopify, Amazon, eBay) to navigating tax regulations across regions. Their guidance helps you avoid common pitfalls, such as misclassified transactions or incorrect tax filings, ensuring your books are tax-efficient.
Tailored Support
eSeller Accountant offers personalized onboarding, live chat, and email support to help you set up and maintain your QuickBooks Shopify setup. Whether you’re a small seller or a high-volume merchant, their team provides step-by-step advice to streamline your accounting process.
Proven Results
Trusted by thousands of Shopify sellers, eSeller Accountant delivers actionable insights through accurate e-commerce financial reports. Their expertise helps you manage cash flow, plan inventory, and make data-driven decisions to scale your business. Sellers consistently praise their responsive and knowledgeable support.
By partnering with eSeller Accountant, you gain peace of mind knowing your Shopify accounting is handled by experts who prioritize your success.
Schedule a Demo with eSeller Accountant
Don’t let manual Shopify bookkeeping hold you back from scaling your e-commerce business. With Shopify QuickBooks integration, you can automate your accounting, save hours each month, and ensure your books are accurate and compliant. Partnering with eSeller Accountant takes it a step further, providing expert guidance to optimize your financial strategy and maximize profitability.
Ready to transform your Shopify bookkeeping? Schedule a demo with eSeller Accountant today to see how their Shopify QuickBooks integration services can streamline your e-commerce financial reports and set your business up for success. No more spreadsheets, no more errors—just accurate accounting on autopilot. Take the first step toward effortless bookkeeping and focus on growing your brand!
About eSeller Accountant
eSeller Accountant specializes in e-commerce accounting, helping Shopify sellers streamline their bookkeeping with QuickBooks and other platforms. Their team of experts provides tailored solutions for tax compliance, cash flow management, and business growth, trusted by sellers worldwide.